Need to Know
Yarn
Hooks & Notions
Measurements
Abbreviations
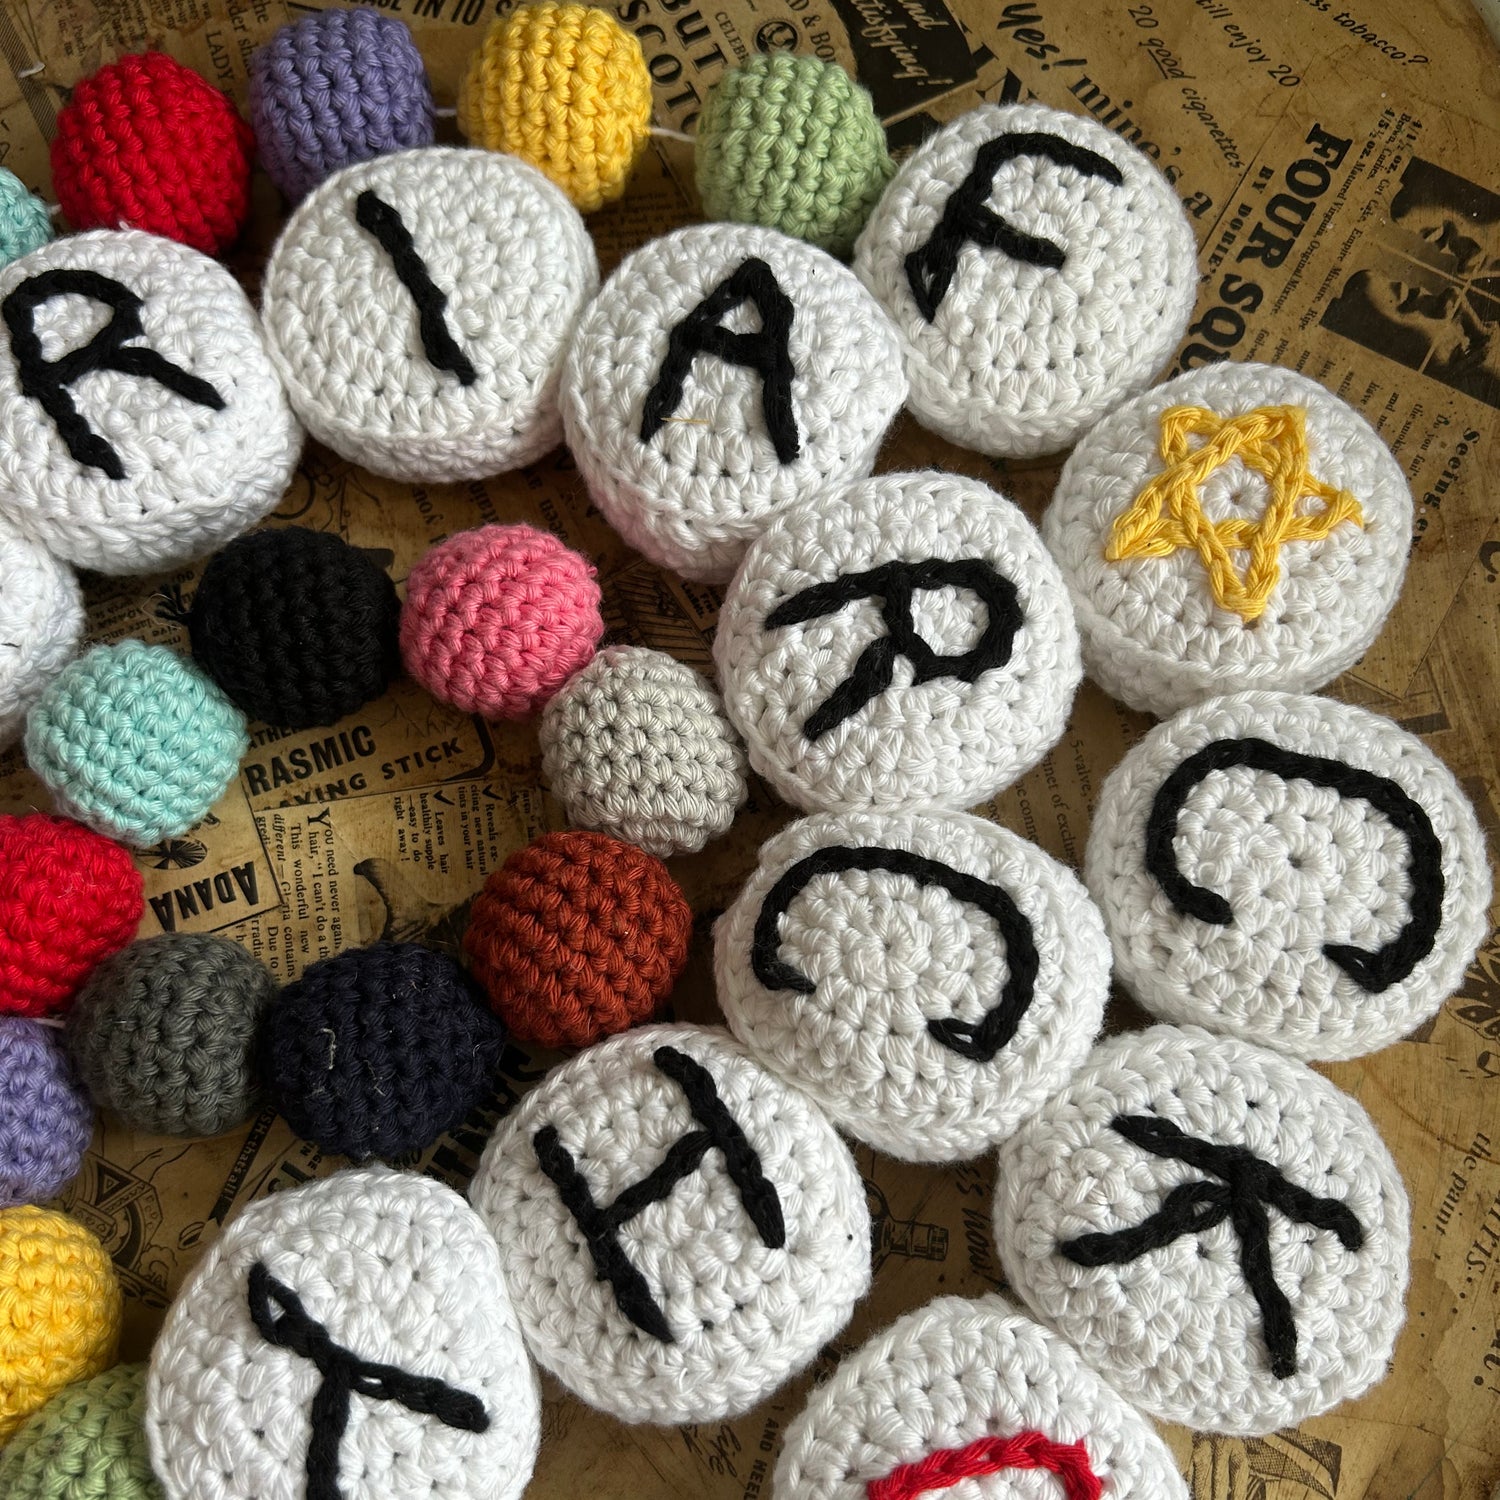
What better way to adorn your home than with your very own friendship bracelet? Whether you're a Swiftie looking to showcase your favourite lyrics in a unique way, or simply just looking for a fun gift to make your best friend, crocheting them a friendship bracelet is such a cute way to show your love.
Mapping out your letters
Want to put a different message on the back of your beads? Write out your plan so you can see how many characters you'll need. I added in extra symbol beads where I needed the extra characters on one side.

The Pattern Begins
The Letter Beads
This pattern is worked in joined rounds.
Side One
Using your chosen colour and 4mm hooks (for DK use 2.5/3mm), make a magic ring. If you aren't comfortable with a magic ring, ch 3 and work all sts from rnd 1 into 1st made ch.

Rnd 1: 8 htr (hdc) into middle of ring. Tighten ring. Join into top of 1st st with a sl st. (8 sts)
Note: When working in the joined rounds, the start of each round will be in the 2nd rnd of the round before. You will join into the top of the 1st st to fasten the round, then work the 'turning chain' out of this stitch to get the height of your next round, you will then not work any other stitches into this st. Your first stitches of the round will then be worked in the 2nd stitch of the previous round. You will work the last lot of stitches around the sl st used to fasten off the round.

Rnd 2: Ch 2 (does not count as a st here and throughout), do not work in st at base of ch. 2 htr (hdc) in each st around, then work 2 htr (hdc) in the sl st used to join the prev rnd. Sl st into top of 1st st. (16 sts)

Rnd 3: Ch 2, do not work in st at base of ch. *htr (hdc), 2 htr (hdc), rep from * to end, working the last 2 htr (hdc) around the sl st used to join prev rnd. Sl st into top of 1st st. (24 sts)

Rnd 4: Ch 2, do not work in st at base of ch. *htr (hdc) in next 2 sts, 2 htr (hdc), rep from * to end, working the last 2 htr (hdc) around the sl st used to join prev rnd. Sl st into the back loop on the top of the stitch, and the back loop of the htr (hdc). (32 sts)
Rnd 5 (work all in back loop and back loop of the htr (hdc): Ch 2, htr (hdc) in each st around, including around the sl st from joining prev rnd. Sl st into top of 1st st. (32 sts)

Rnd 6: Ch 2, do not work in st at base of ch. htr (hdc) in each st around, including around the sl st from joining prev rnd. Sl st into the back loop on the top of the stitch, and the back loop of the htr (hdc). (32 sts)

Fasten off leaving a 30cm long tail for attaching.
Side Two
As Rnd 1-4 of side 1. Fasten off. No need to leave a long tail.
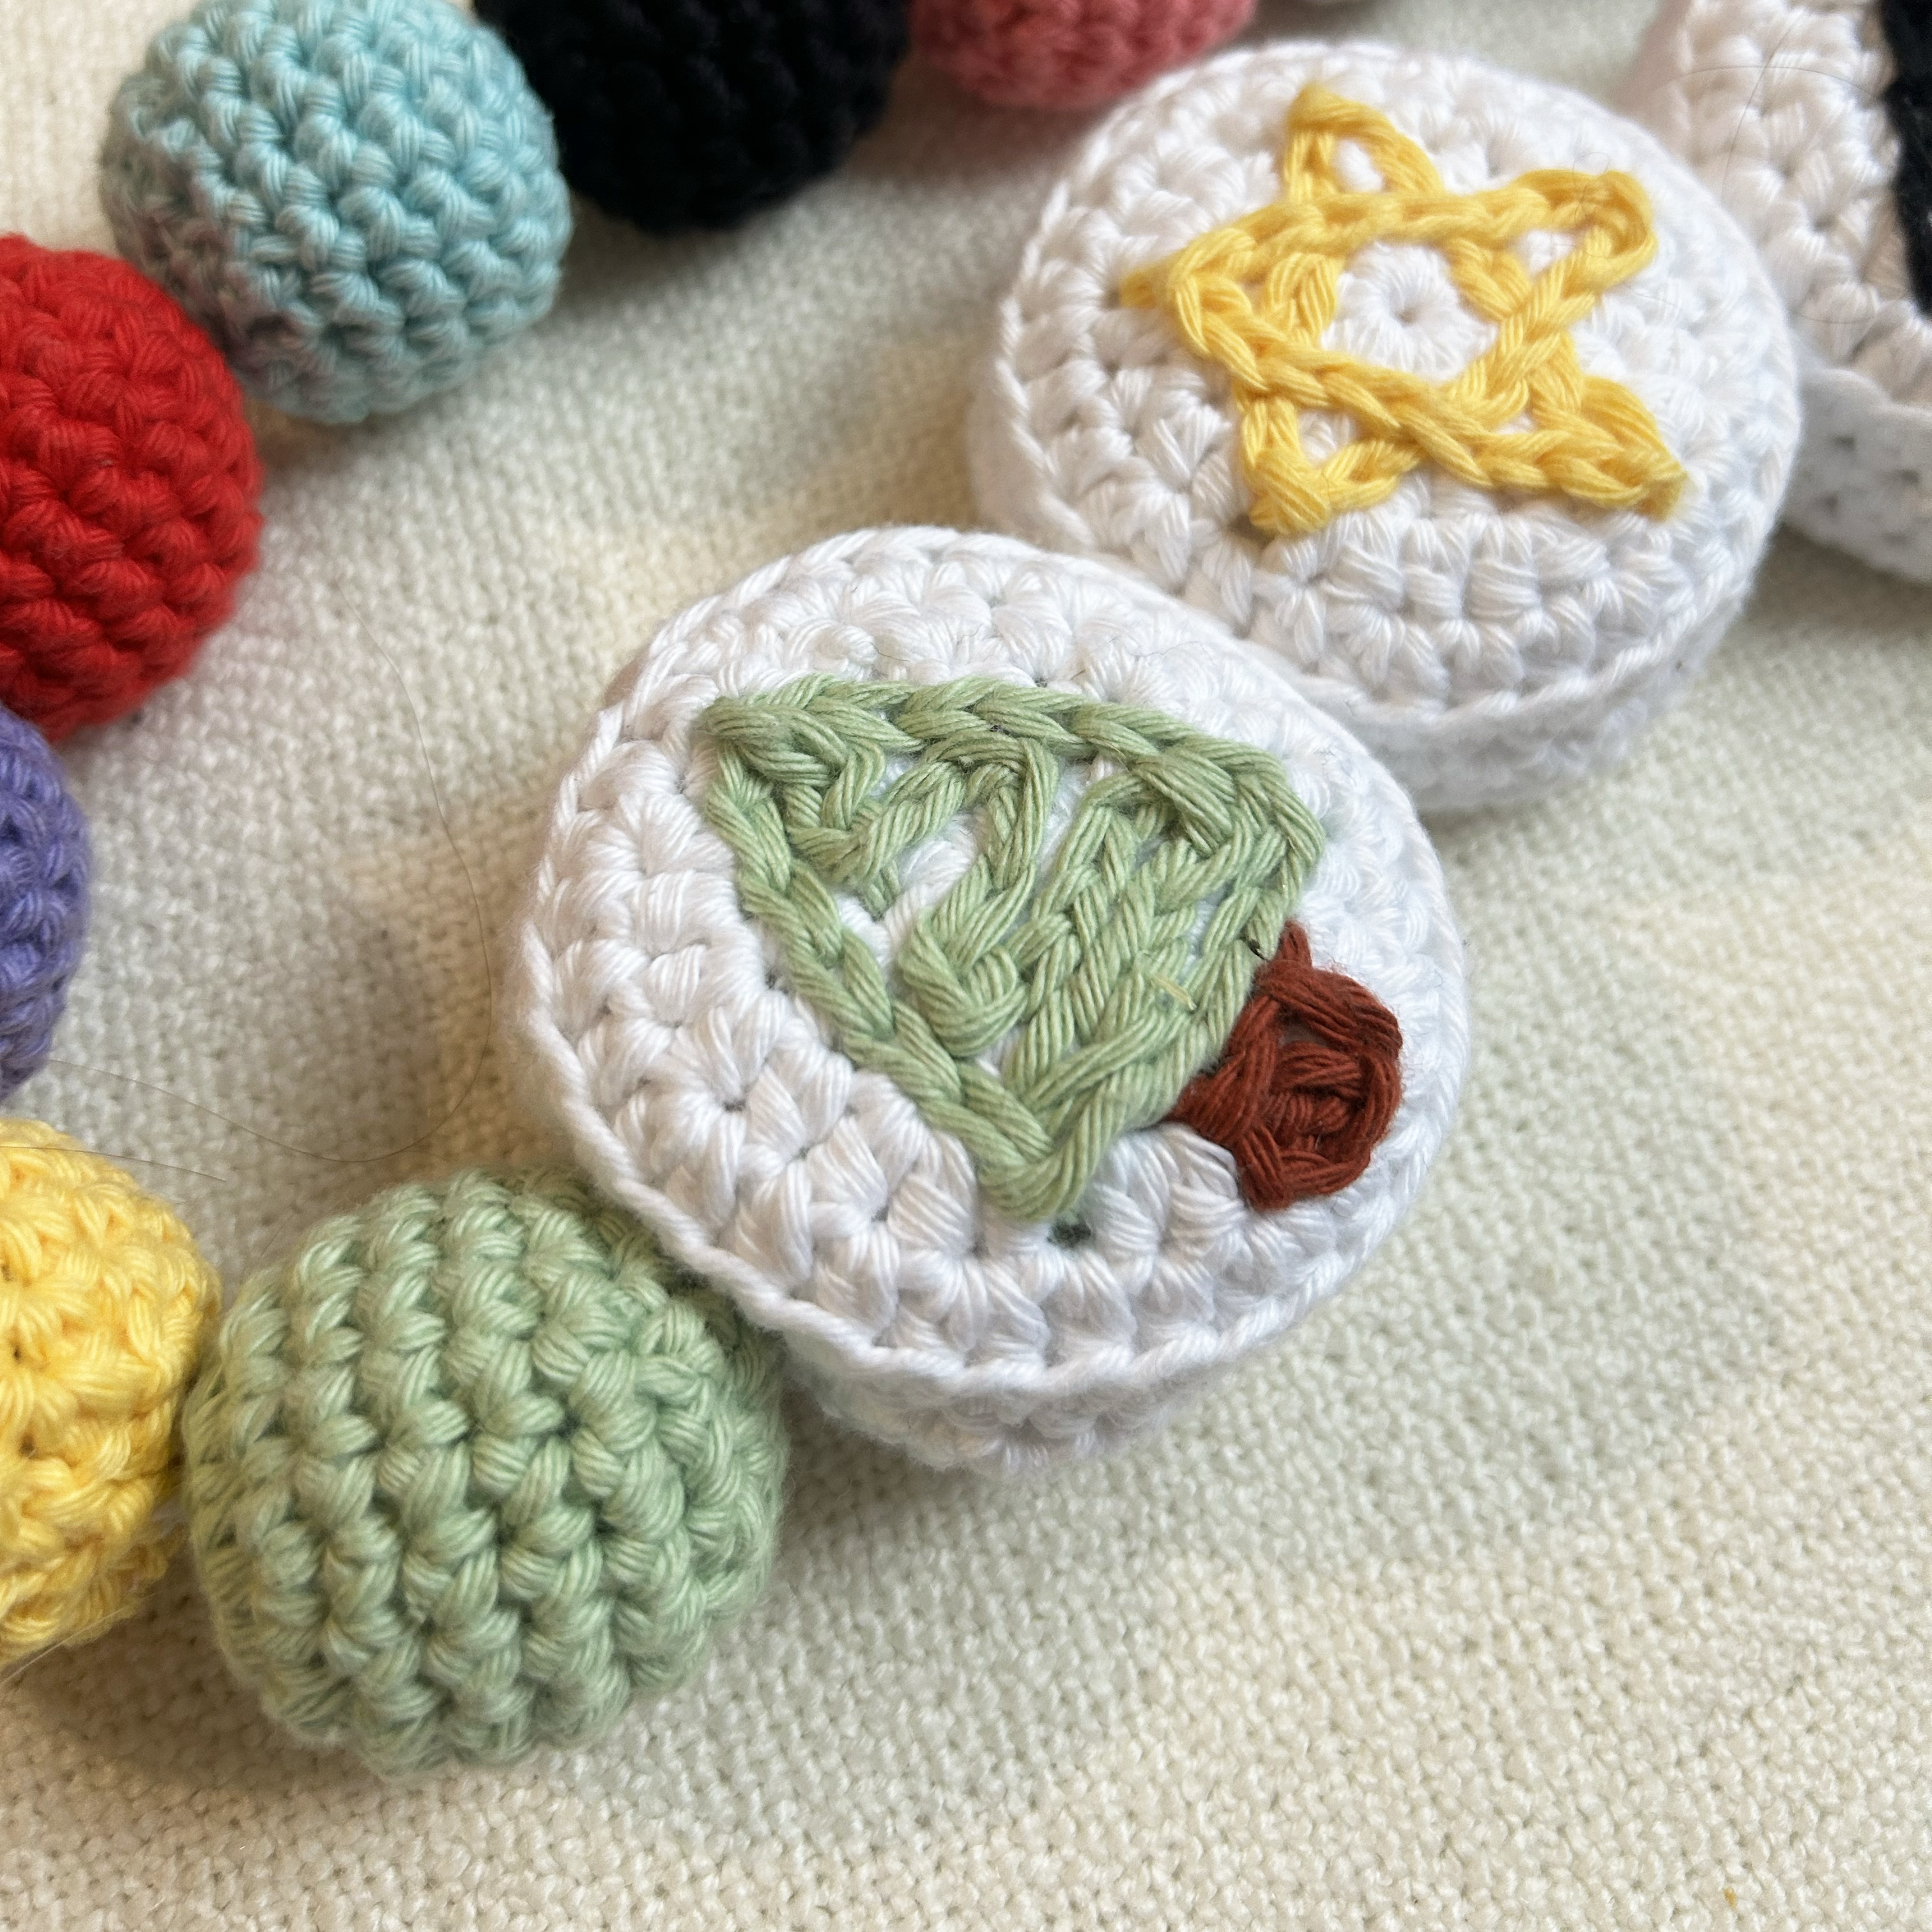
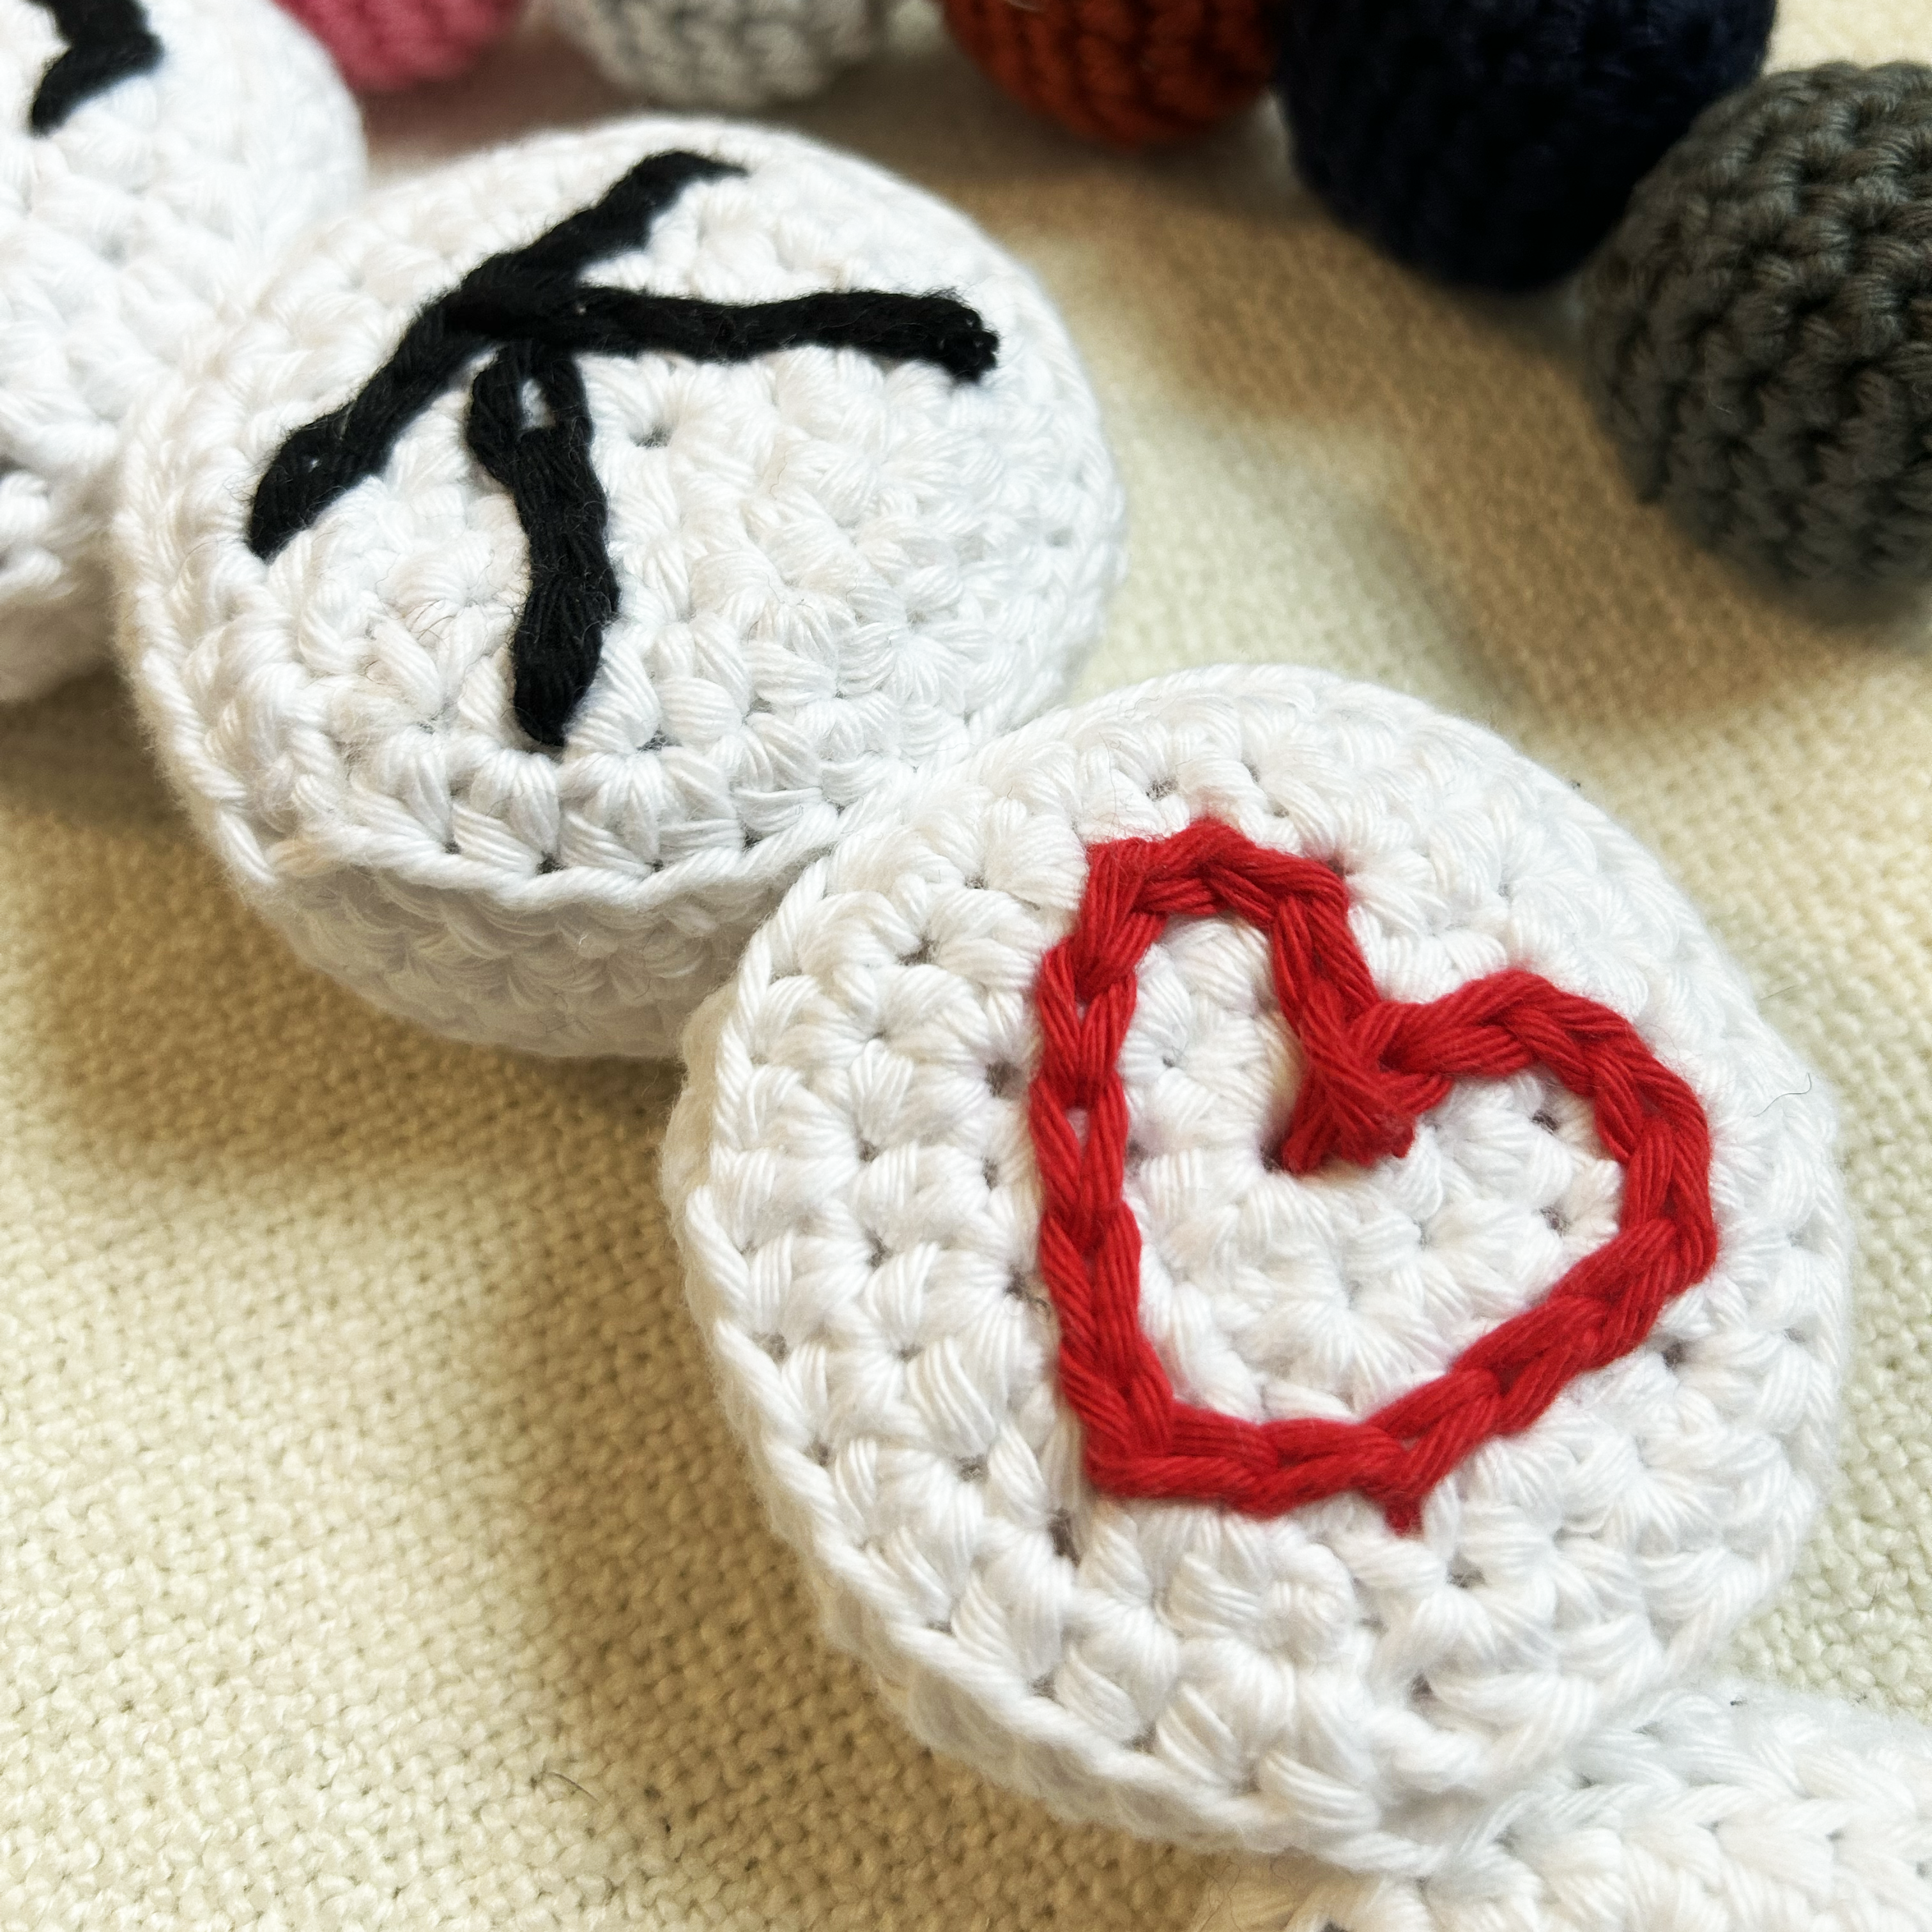
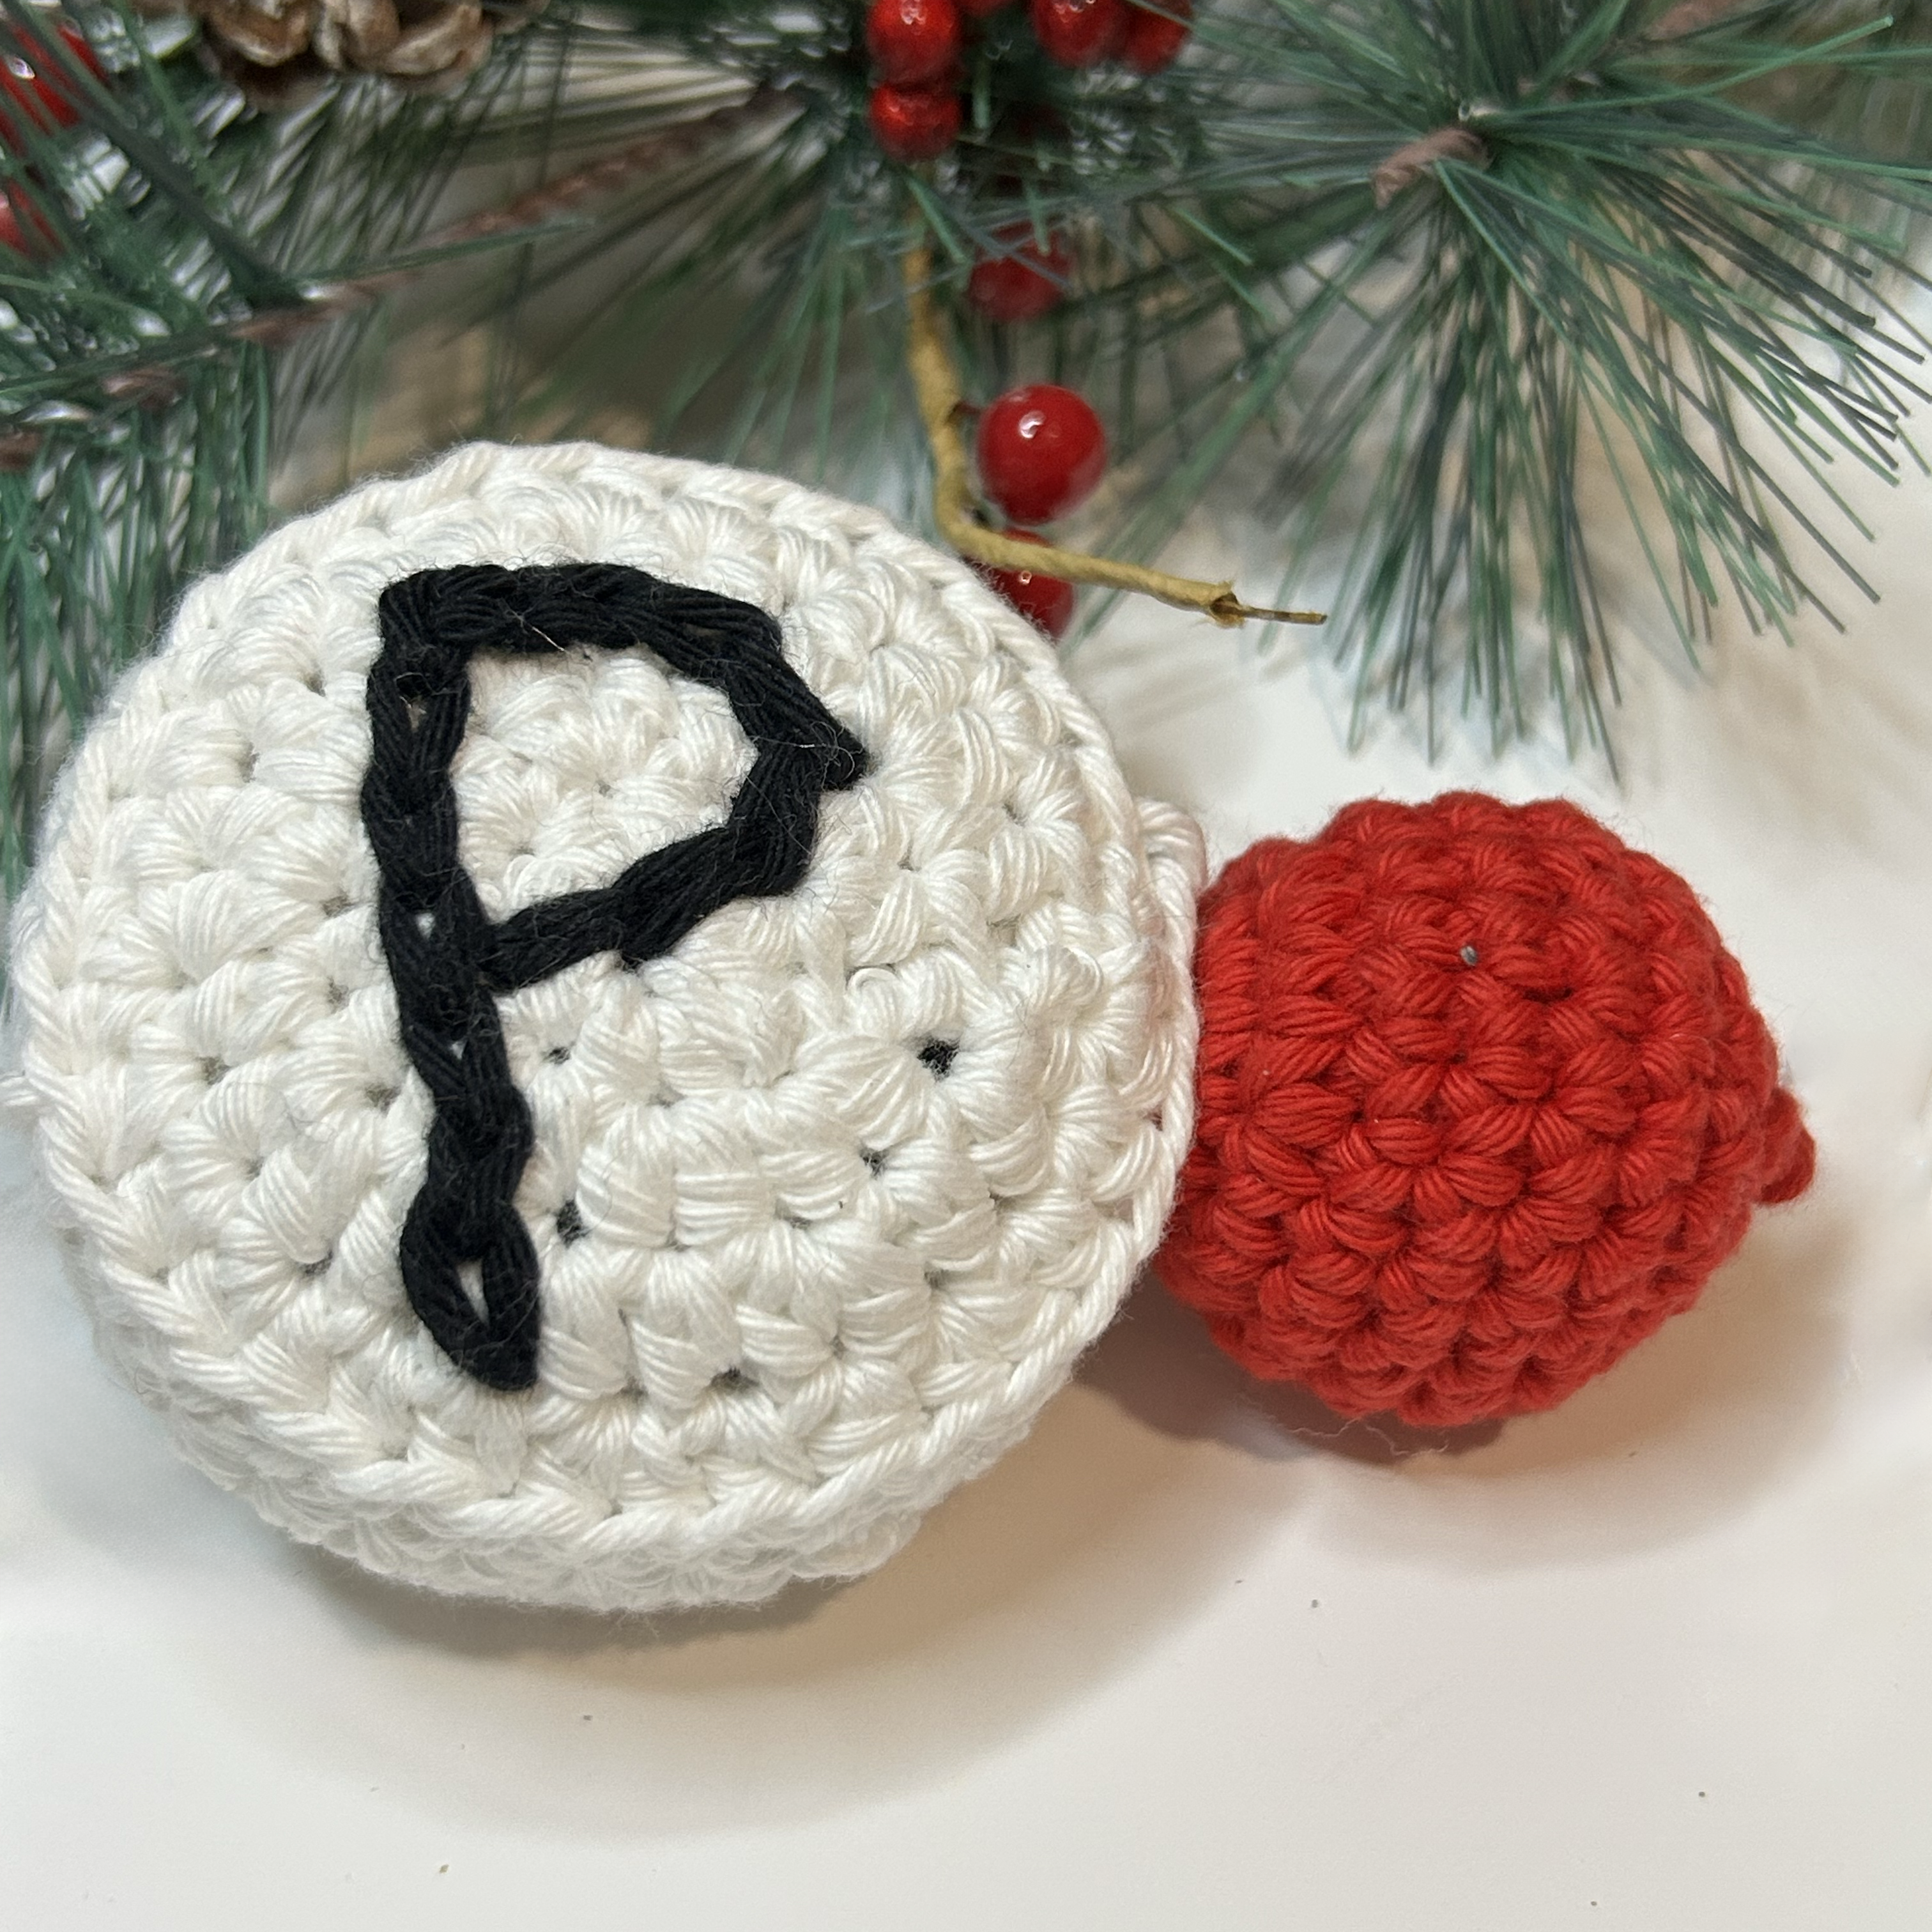
Letters
You can use surface crochet or a simple embroidery stitch to put your letters on the beads. See the PDF for how I recommend doing each letter. - PDF is incoming once my design software stops being a dick...
Joining
Align your beads so that the letter on the front is upright, with the bead on the back is upside-down. That way, when you slip the bead around, like on a real bracelet, it will still be up the right way.
The Glass Beads
This pattern is worked in continuous rnds.
Using your chosen colour and 4mm hooks (for DK use 2.5/3mm), make a magic ring. If you aren't comfortable with a magic ring, ch 2 and work all sts from rnd 1 into 1st made ch.
Rnd 1: 6 dc (sc) into the ring.
Rnd 2: 2 sc (dc) in each st. (12 sts)
Rnd 3: *dc (sc), 2 dc (sc), rep from * to end. (18 sts)
Rnd 4-7: 1 dc (sc) in each st. (4 rnds of 18 sts)
Note: If you aren't comfortable with an invisible decrease, simply use a dc2tog
(sc2tog) instead.
Rnd 8: *dc (sc), inv-dec, rep from * to end. (12 sts)
Make sure that your bead is right side out (this is the side facing you as you work). If your work is wrong-side out, then push it the other way out. Stuff with fibre fill.
Rnd 9: inv-dec in each st. (6 sts)
Fasten off, leaving a 10cm end to securely weave in your end.
Make your garland
Take a length of yarn approx 1m longer than you require. Using a yarn needle, thread through each of your bead through the middle. I recommend doing a small stitch around rnd 1 of each of your glass beads to hold them in place. Don't do this with your letter beads so they can freely spin.
Show Your Support
By purchasing the pattern PDF, you will be supporting my ability to provide even more free patterns and tutorials.

Buy me a 'Coffee'

You Might Also Like
-
Taylor Swift The Eras Tour - Colour Chart Pattern - PDF Only
Regular price From £5.00Regular priceUnit price per -
The Eras CAL
Regular price From £5.00Regular priceUnit price per -
Taylor Swift The Eras Tour (TTPD Version) - Colour Chart Pattern - PDF Only
Regular price From £5.00Regular priceUnit price per -
Taylor Your Own Dress - Crochet Pattern - PDF Only
Regular price From £5.00Regular priceUnit price per