Need to Know
Yarn
Hooks & Notions
Measurements
Abbreviations
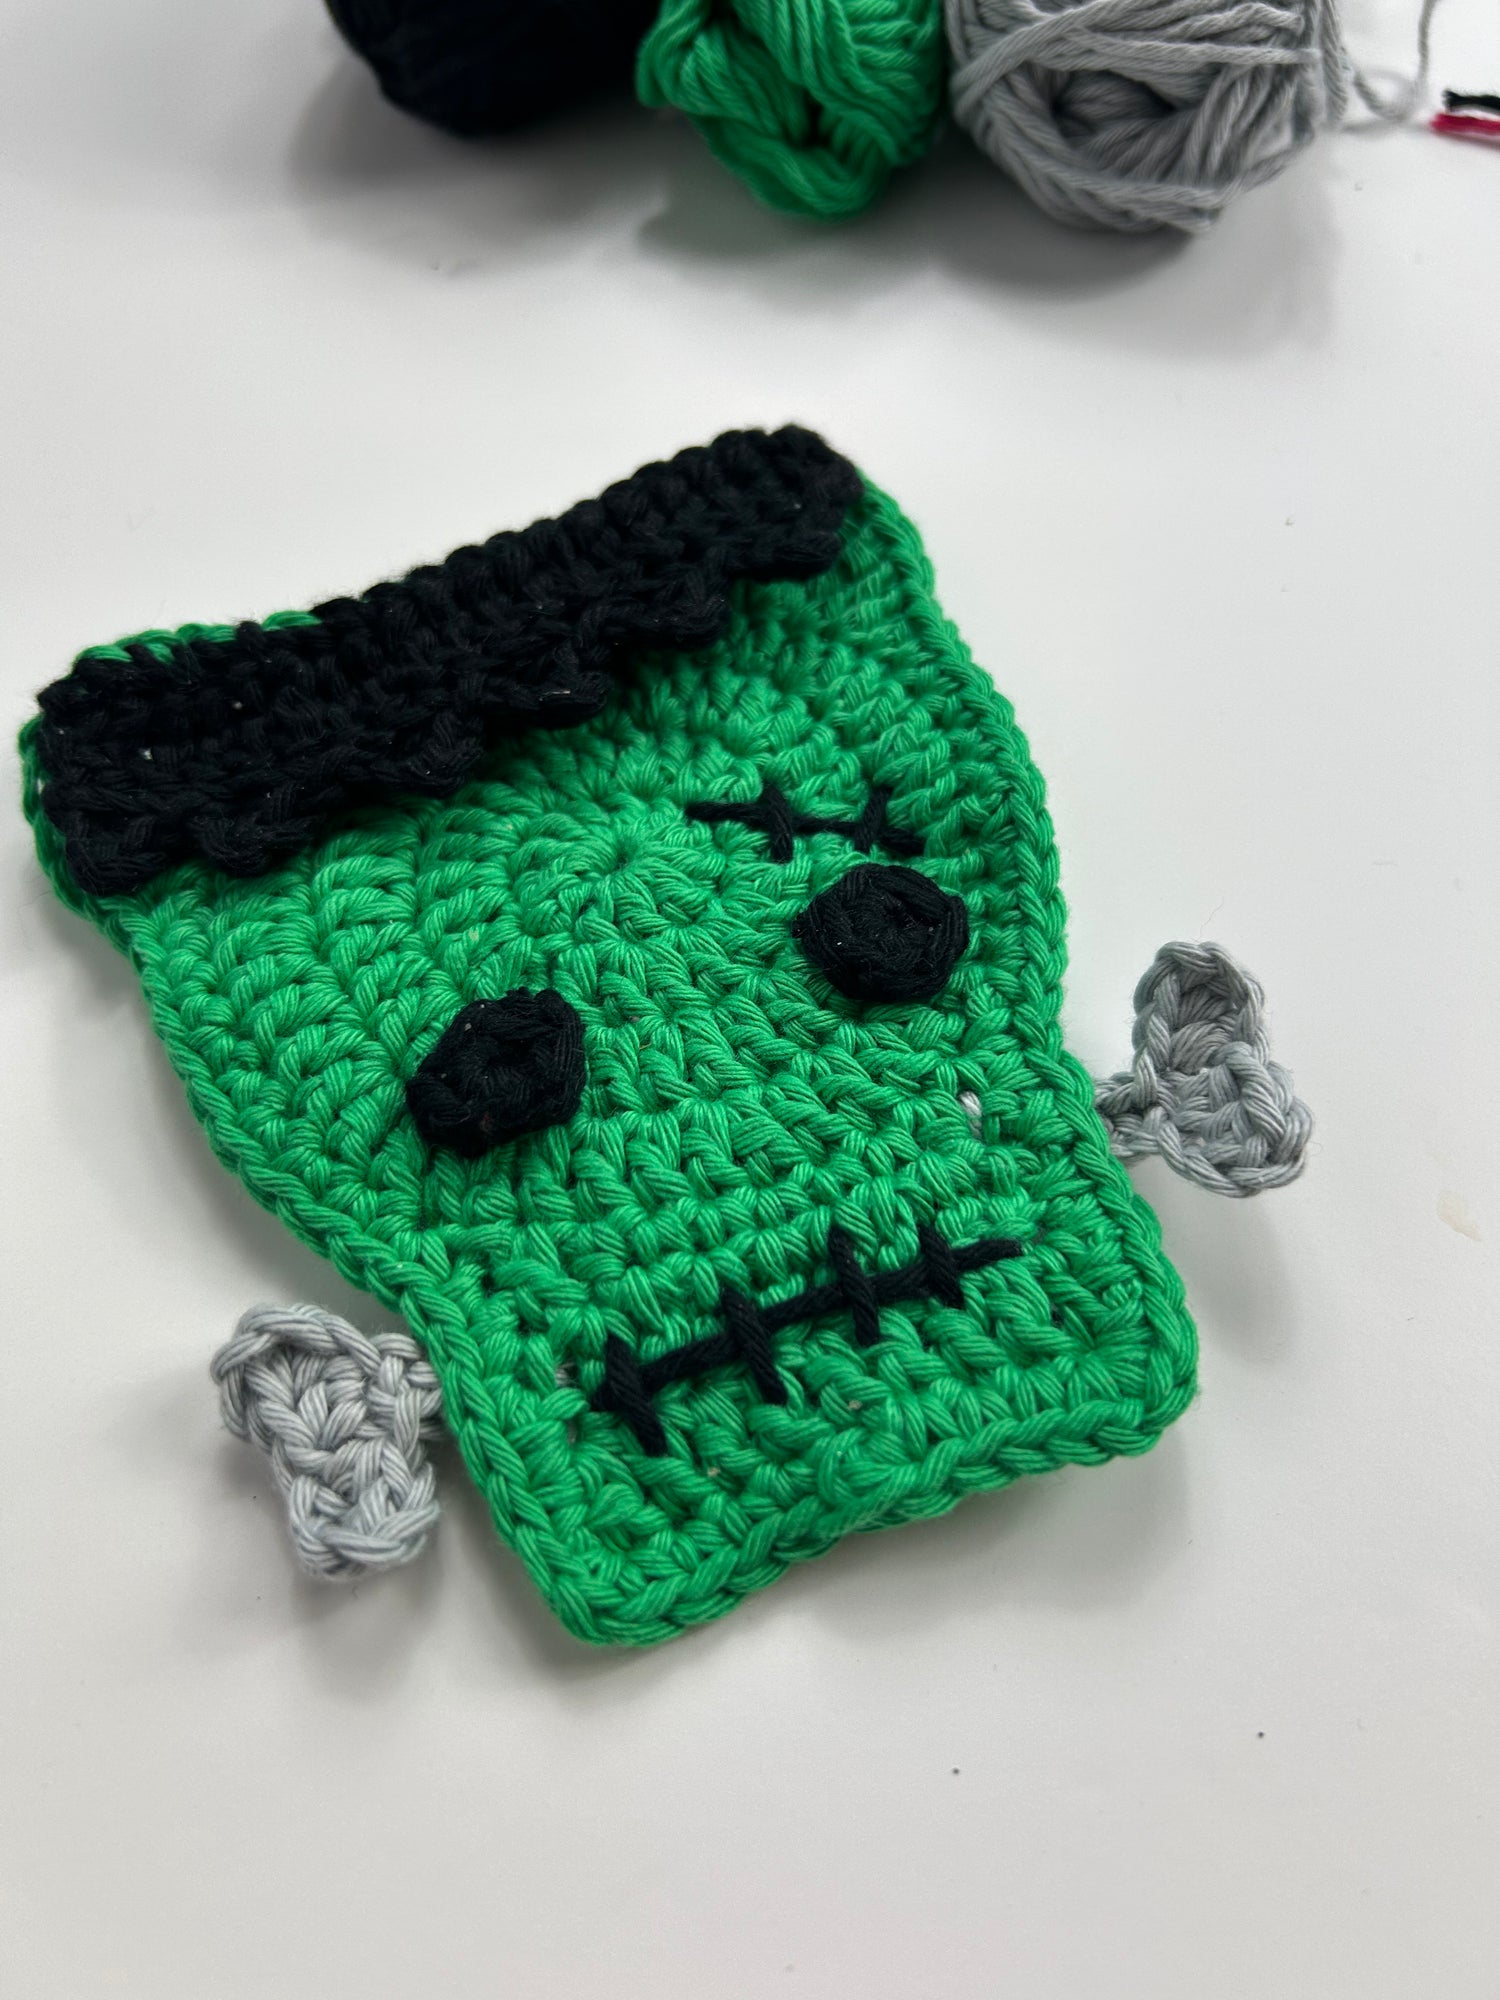
Spooky season is upon us, and this year I'm marking the occasion with a series of spooky (or, more accurately, spoopy!) bunting accoutrements that you can mix and match, or simply hang each individual motif up in your home.
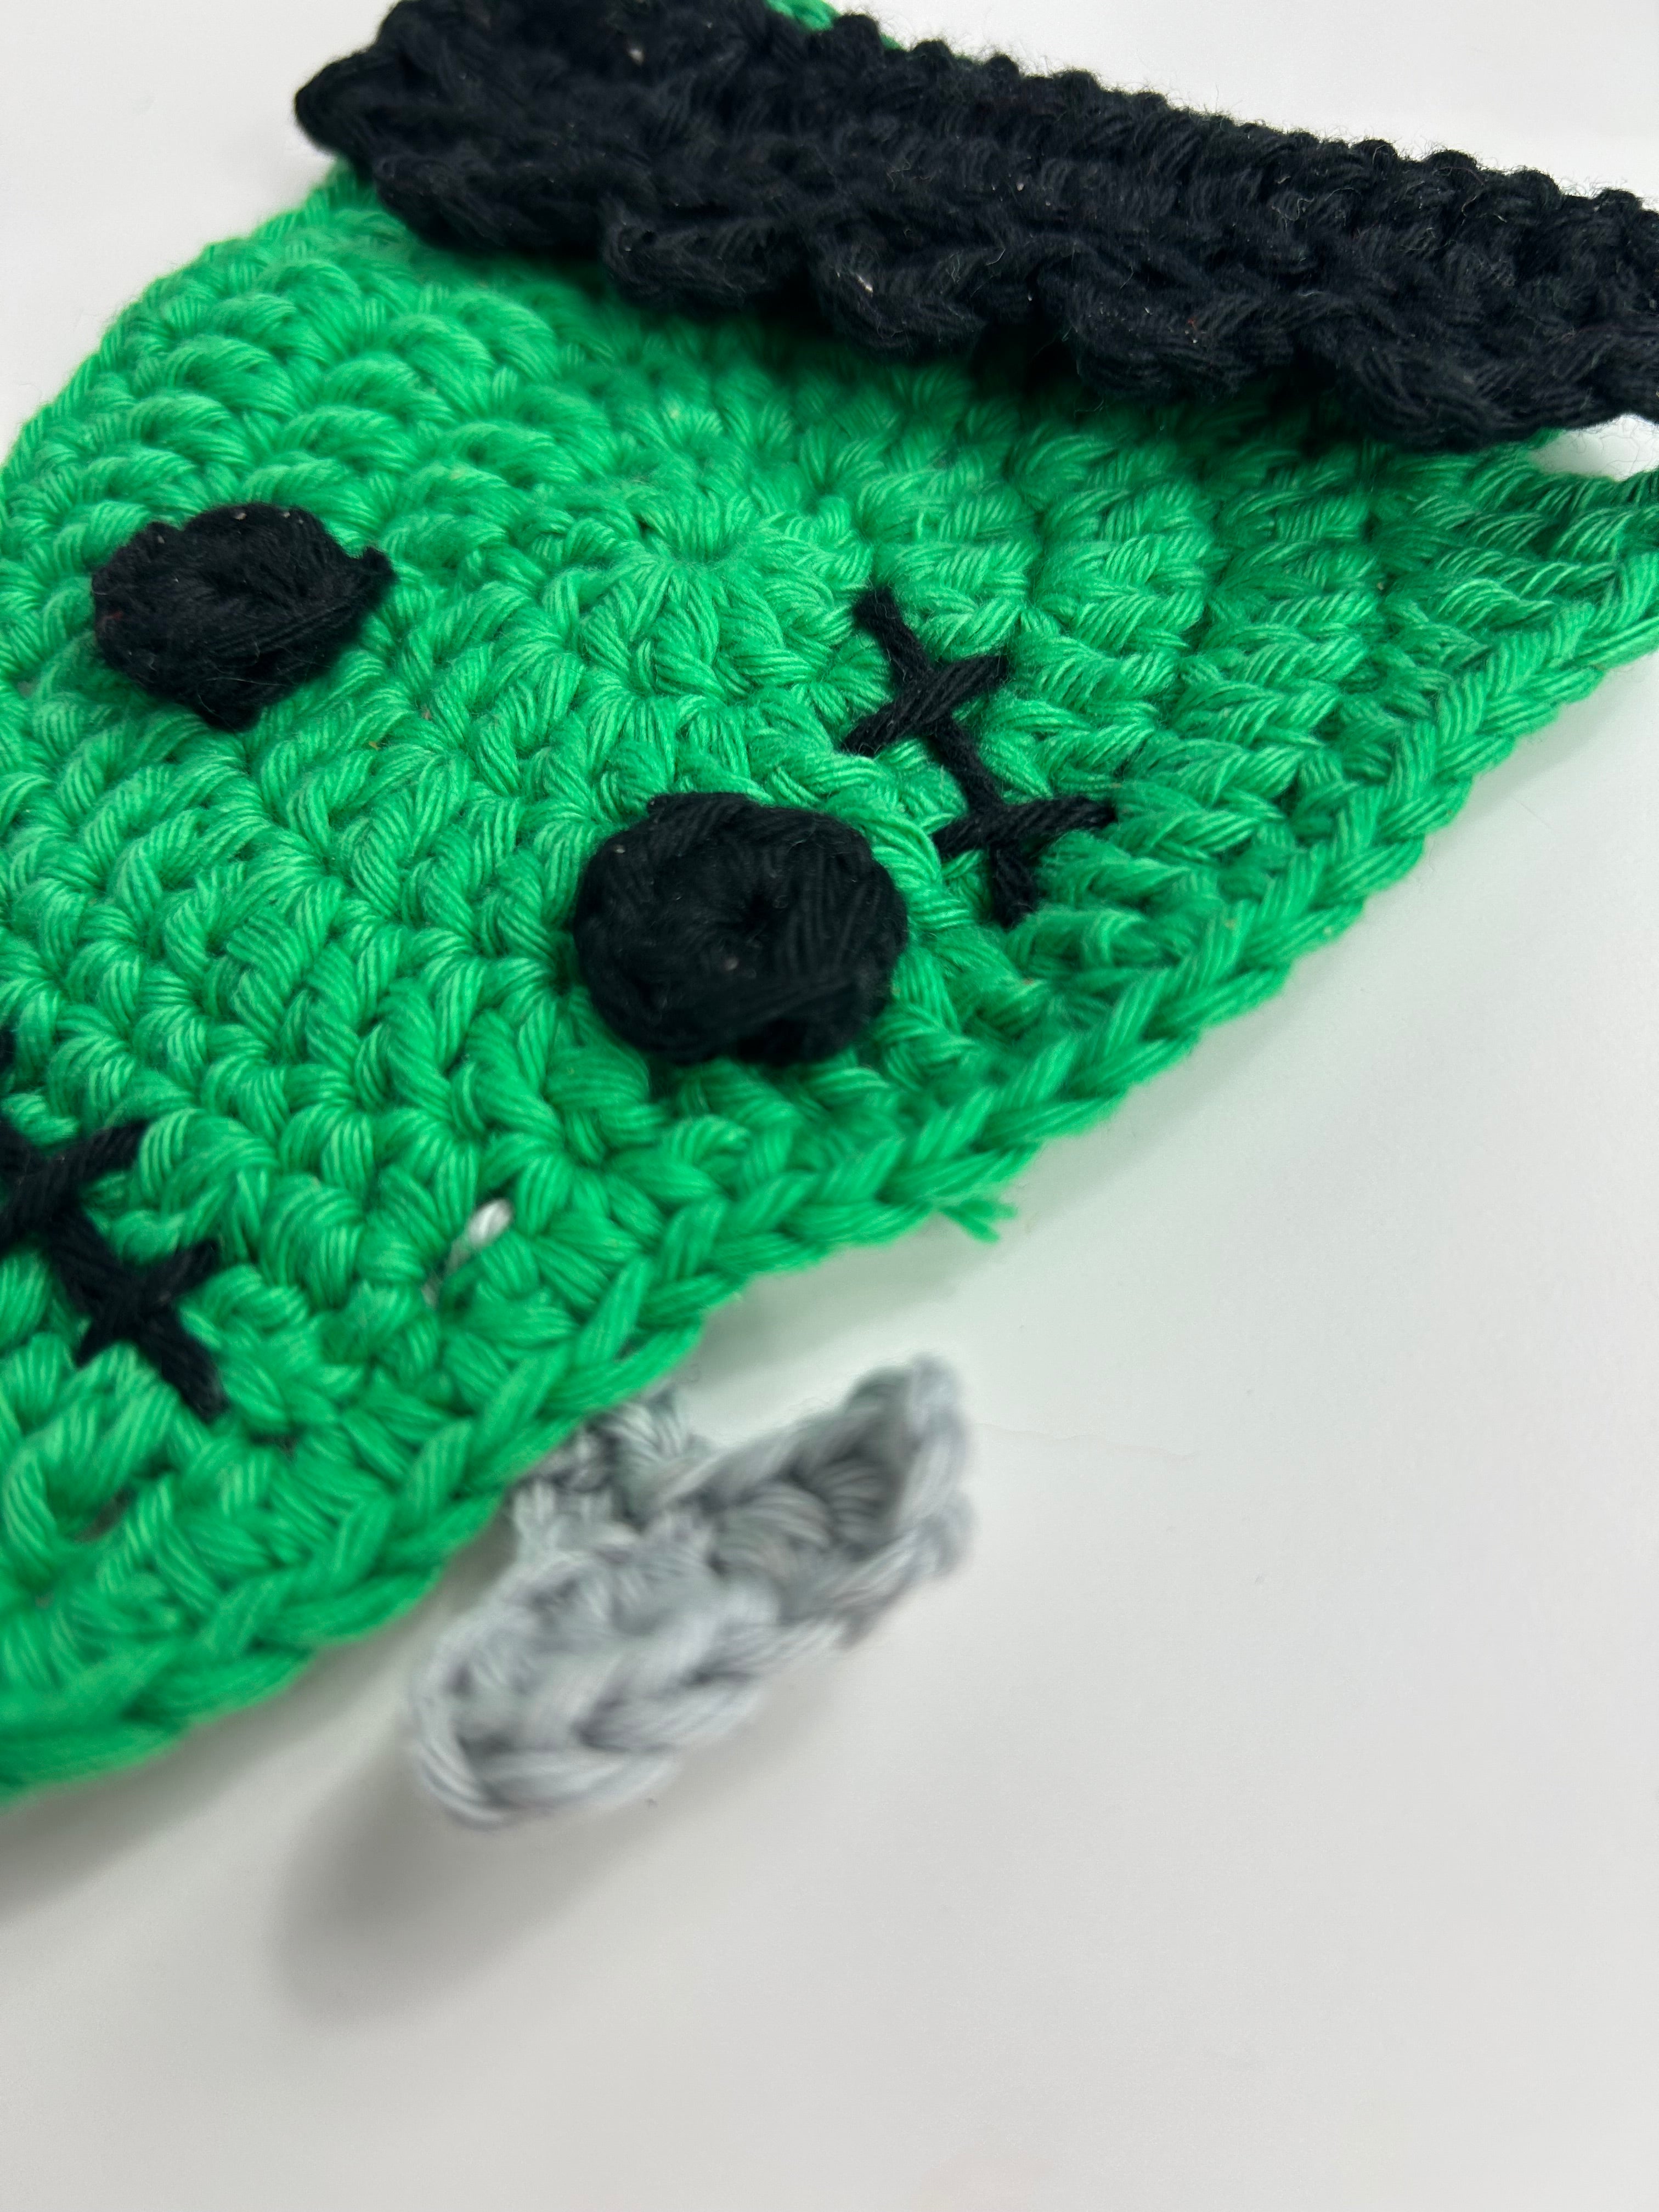
Keep your eyes open over the coming weeks for each new part. This week, we're looking at creating Frankenstein's Monster (not the scientist, Frankenstein!).
I use Linked Trebles (Doubles) in the jaw of the skull, as this provides a tighter beginning to the rows. A linked stitch is not necessary for this pattern, you can skip it if you're not happy to do them. Equally, for the hair, I start with a chainless foundation, but you can simply work a chain instead if you're more comfortable.
Special Stitches
Linked treble (double) stitch: Instead of yarning over before you go into the stitch, insert your hook into the 2nd ch from hook, yarn over and pull up a loop as if working a dc (dc) into the st. You will have 2 loops on your hook. Insert your hook into the stitch you’re required to work and continue the stitch as if a normal tr (dc).
Chainless Foundation: Chainless foundation stitches are worked by creating the chain as you go. Insert your hook into the bottom of the previous stitch, chain 1, then complete your stitch as normal. For Trebles (Doubles), yarn over before you insert your hook to work the chain.
Pattern begins
Frankenstein's Monster Main Head
Using a 4mm hook and an aran-weight yarn, begin in the round with your chosen method:
Chain Start
Rnd 1: Ch 4, 11 tr into the 4th ch from hook. (3 unworked ch counts as st here and throughout). Join with sl st into top of 1st tr.
Chain Ring
Rnd 1: Ch 4, join with sl st into 1st ch, ch 3 (counts as st here and throughout), 11 tr into middle of ch4 ring. Ch 3 counts as st here and throughout). Join with sl st into top of 1st tr.
Magic Ring
Rnd 1: Create a magic ring, ch 3 (counts as st here and throughout), 11 tr into the magic ring and pull tight. Join with sl st into top of 1st tr. (12 sts)

Rnd 2: ch 3, 1 tr (dc) in base of ch 3. (2 tr (dc)) in next 10 sts, 2 tr (dc)around joining sl st. Join with sl st into top of 1st tr (dc). (24 sts)
Rnd 3: ch 3, 1 tr (dc) in base of ch 3. *tr (dc), (2 tr (dc)), rep from * 5 times. tr (dc) around joining sl st. Join with sl st into top of 1st tr (dc). (36 sts)
Rnd 4: ch 3, 1 tr (dc) in base of ch 3. *tr (dc) in next 2 sts, (2 tr (dc)), rep from * 5 times. tr (dc) around joining sl st. Join with sl st into top of 1st tr (dc). (48 sts)
Do not fasten off. You will now work in rows to create the jaw.

Jaw
At the beginning of the rows, I use a linked stitch in order to keep the turning chain tight to the trebles (doubles), you do not need to do this, but if you would like to know how, see explanation below.
Row 1: ch 2, ltr (ldc) into 1st st, htr (hdc), dc (sc) in next 5 sts, htr (hdc), tr (dc). Leave remaining sts unworked. (9 sts)
Row 2-3: ch 2, ltr (ldc) into 1st st, tr (dc) in next 8 sts. (9 sts) Do not fasten off. We’ll use the same yarn to continue around the edge.

Edge
Attach in middle stitch of bottom of the jaw. Ch 1, dc (sc) in each st to end, ch 1, dc (sc) in same st. Place 2 dc (sc) per tr (dc) down the raw edge of the jaw. Sk the 1st st on the main head, (2 dc (sc)) in next st. dc (sc) in next 9 sts, *htr (hdc), tr (dc), dtr (tr), (2 ttr (dtr), ch 2, 2 ttr (dtr)), dtr (tr), tr (dc), dc (sc) in next 5 sts. Rep from * twice. dc (sc) in next 3 sts, 2 dc (sc) in next st. Sk next st, Place 2 dc (sc) per tr (dc) down the raw edge of the jaw, h 1, dc (sc) in same st. dc (sc) in remaining unworked sts.
Fasten off. Weave in ends.
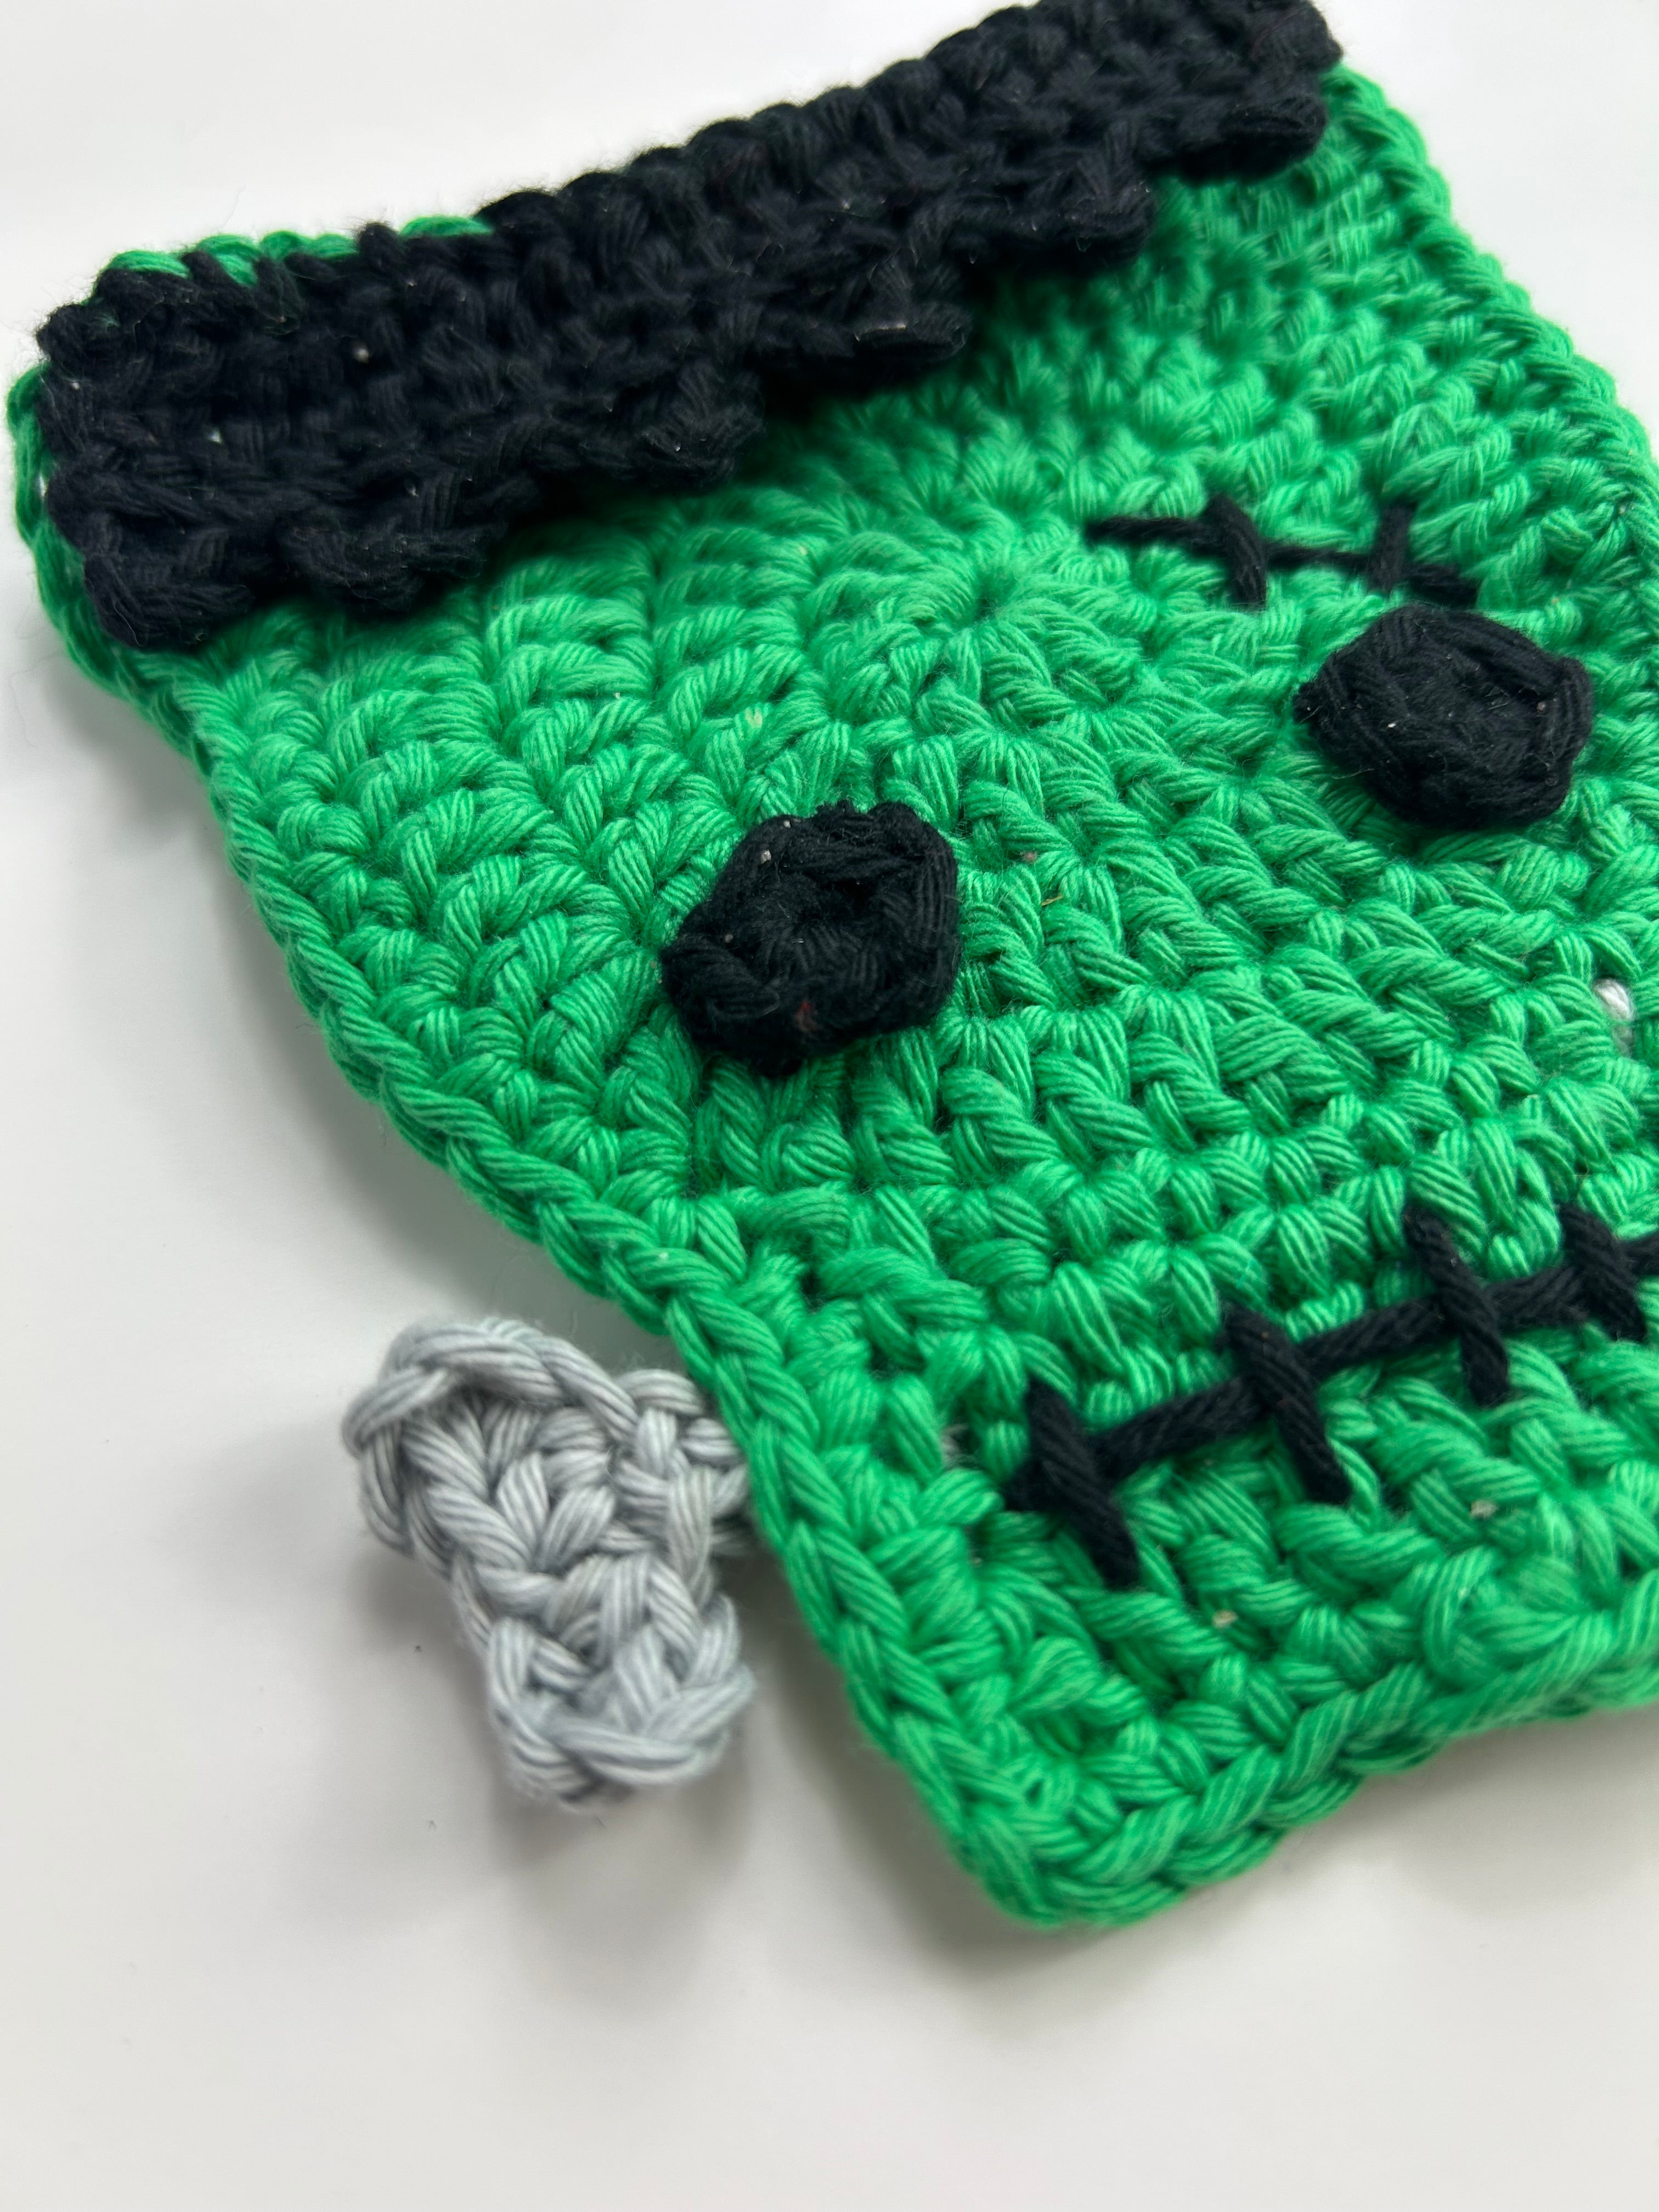
Hair
Using black and 4mm hook, use your chosen method:
Chain Start
Row 1: Ch 20, tr (dc) in 3rd ch from hook, tr (dc) in each ch. Turn.
Chainless foundation start
Row 1: Ch 3, 18 chainless foundation tr (dc). Turn.
Row 2: *ch 4, dc (sc) in 2nd ch from hook, htr (hdc), tr (dc), join to row 1 with sl st in 4th st. Rep from * to end (6 spikes).
Fasten off, leaving a long tail to attach to the top of the head.
Eyes (Make 2)
Using black and 4mm hook, work in the round with your chosen method:
Chain Start
Rnd 1: Ch 2, 6 dc (sc) into the 2nd ch from hook. Join into top of 1st st with sl st, fasten off leaving a long end for attaching.
Chain Ring
Rnd 1: Ch 4, join with sl st into 1st ch, ch 2, 6 dc (sc) into ring. Join into top of 1st st with sl st, fasten off leaving a long end for attaching.
Magic Ring
Rnd 1: Create a magic ring, ch 2, 6 dc (sc) into the ring and tighten. Join into top of 1st st with sl st, fasten off leaving a long end for attaching.

Mouth & Scar
Take a length of black thread and a yarn needle, approx 1 st from the end, start your centre line and take to 1st away from the other side. Now take your thread and marker out 5 teeth lines evenly. Tie off and weave in ends.
Use the same technique to create a scar or two.
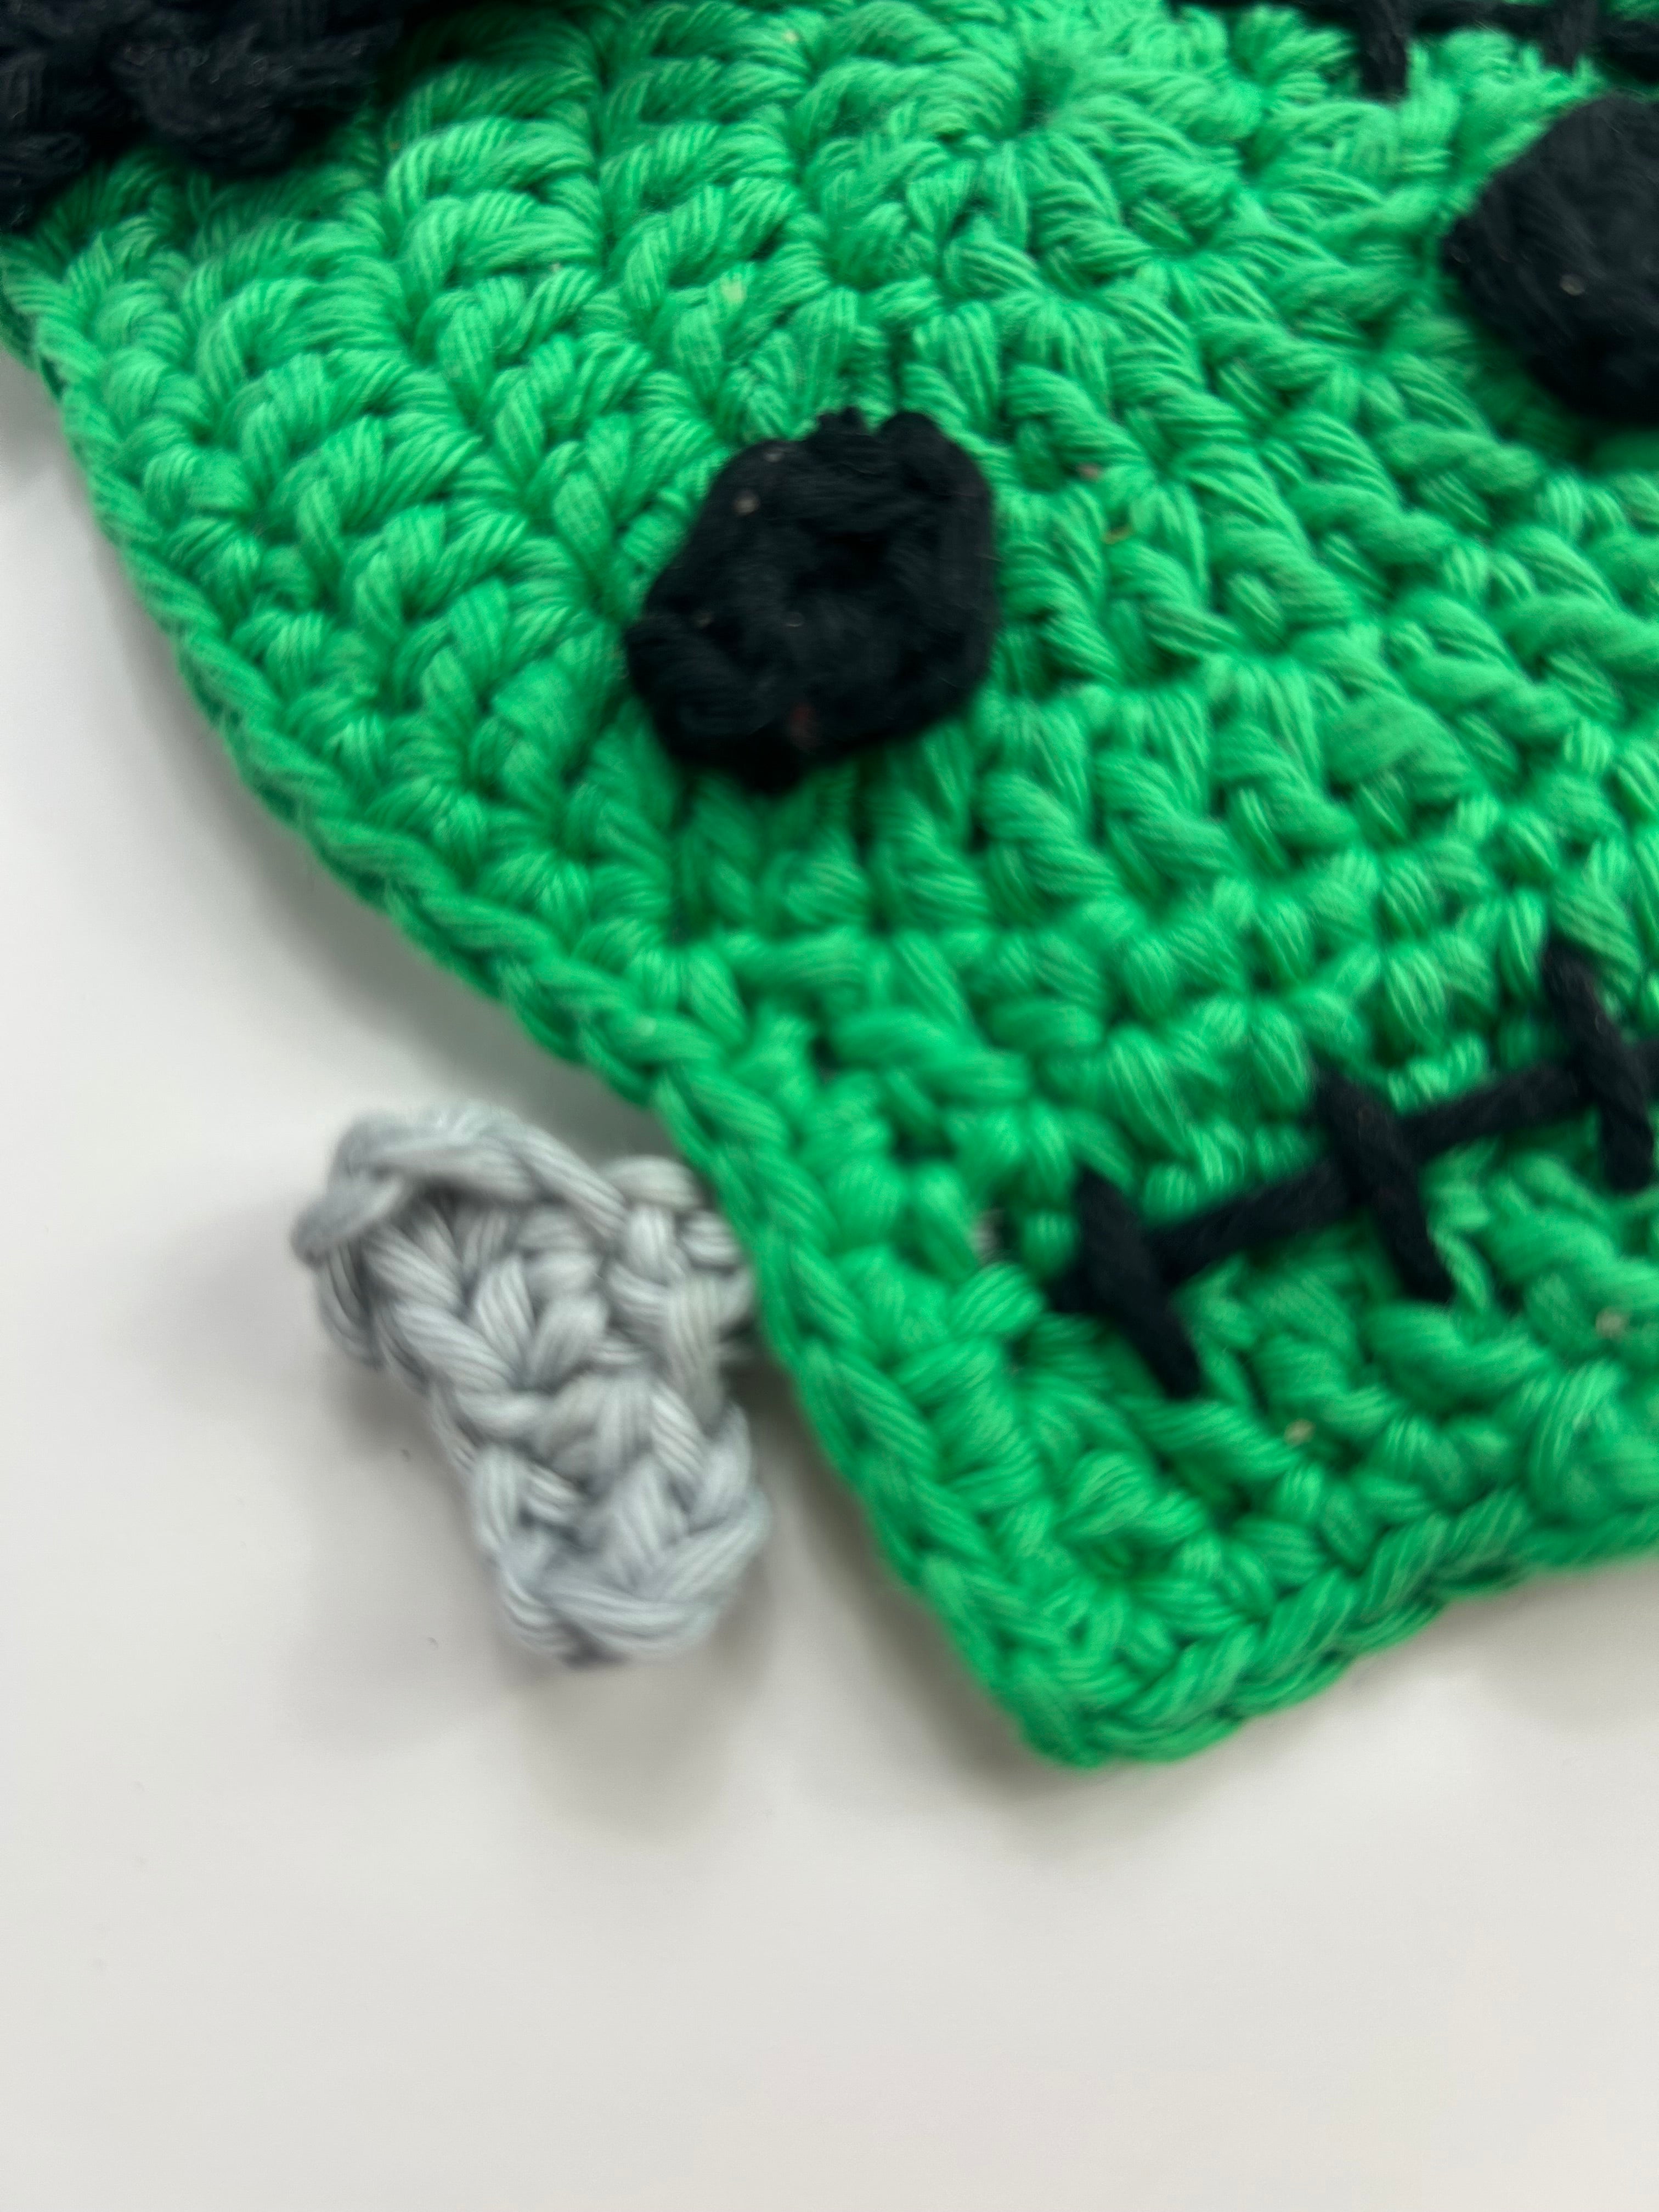
Screws
Using grey and 4mm hook, ch 7, dc (sc) in 2nd ch from hook, dc (sc) in next st, ch 4, dc (sc) in 2nd ch from hook, dc (sc) in next st, dc (sc) in next 4 unworked ch. Fasten off leaving a long tail for attaching.

Linked Stitches Tutorial
Linked stitches seem daunting, but are actually much simpler than they seem.
Instead of yarning over before you go into the stitch, insert your hook into the 2nd ch from hook, yarn over and pull up a loop as if working a dc (dc) into the st. You will have 2 loops on your hook. Insert your hook into the stitch you're required to work and continue the stitch as if a normal tr (dc).
Show Your Support
By purchasing the pattern PDF, you will be supporting my ability to provide even more free patterns and tutorials.

Buy me a 'Coffee'

You Might Also Like
-
Taylor Swift The Eras Tour - Colour Chart Pattern - PDF Only
Regular price From £5.00Regular priceUnit price per -
The Eras CAL
Regular price From £5.00Regular priceUnit price per -
Taylor Swift The Eras Tour (TTPD Version) - Colour Chart Pattern - PDF Only
Regular price From £5.00Regular priceUnit price per -
Taylor Your Own Dress - Crochet Pattern - PDF Only
Regular price From £5.00Regular priceUnit price per